Transforming Your Home Studio Acoustics
By maikk. Published . Filed under Pro Tips.
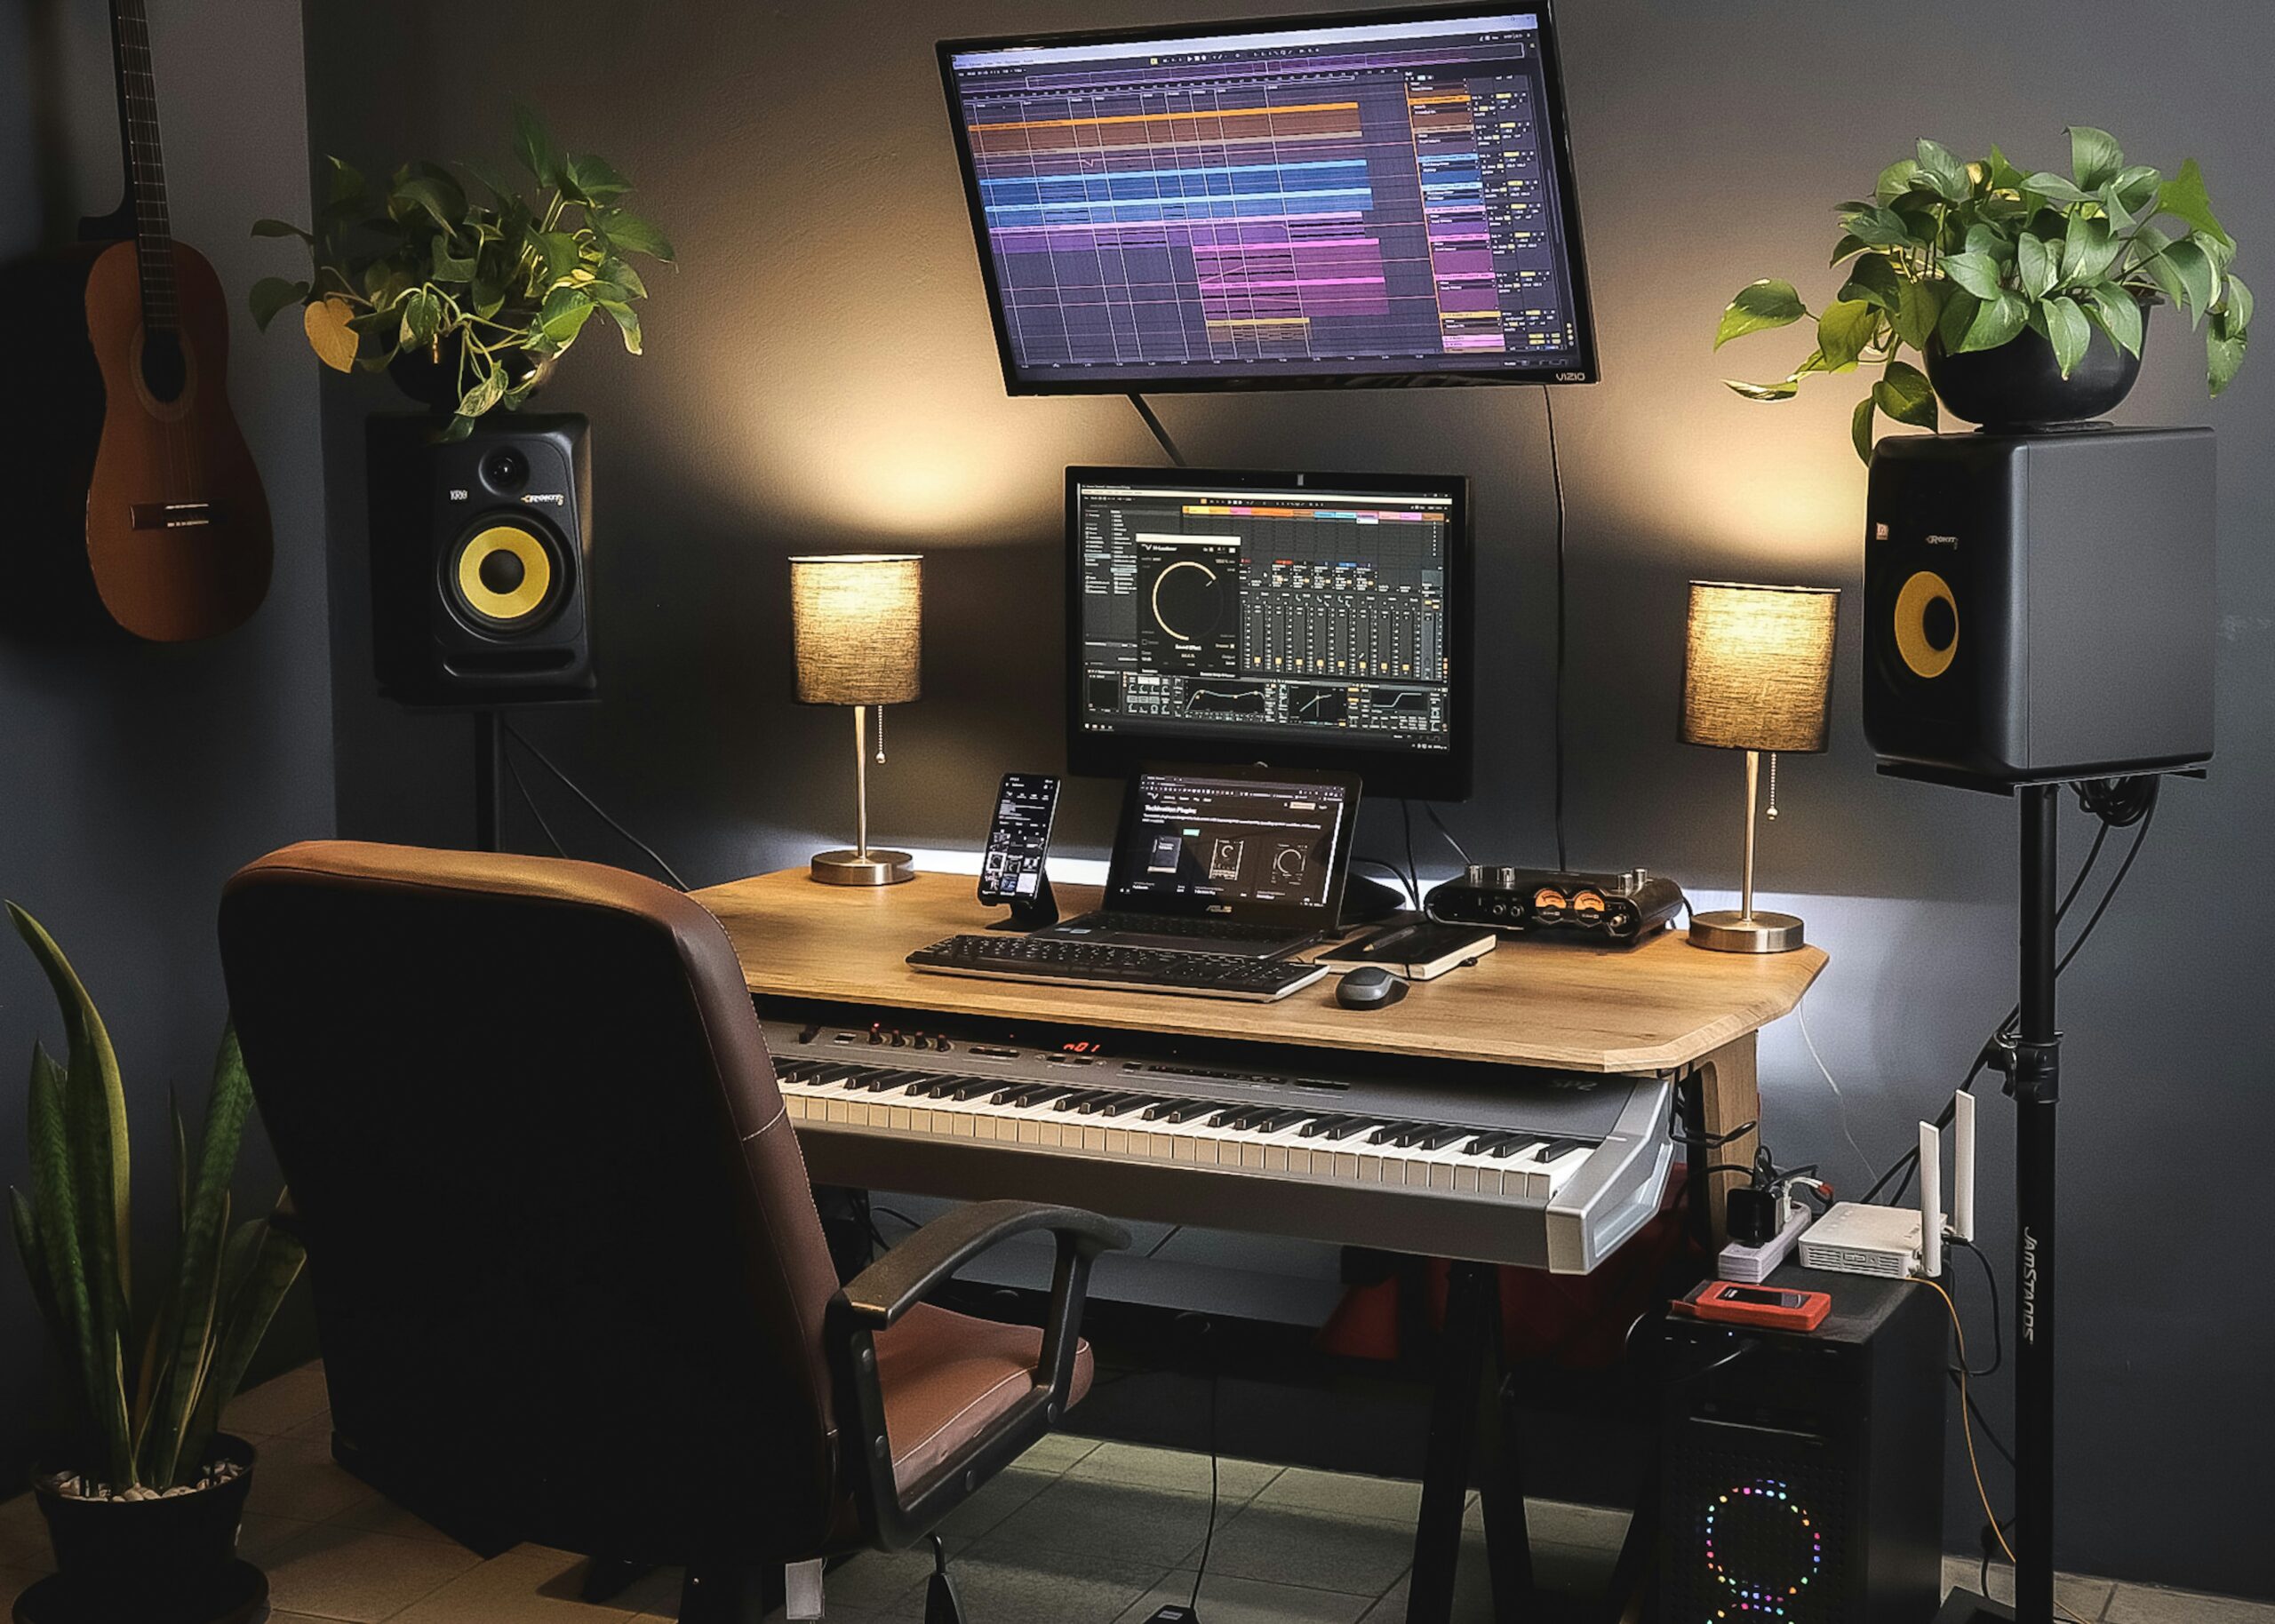
From Bedroom to Professional Sound in 5 Steps
Quick Guide: Transforming Your Home Studio Acoustics From Bedroom to Professional Sound in 5 Steps Setting up a home studio is exciting, but the moment you hit record and hear that hollow, echo-filled sound bouncing around your untreated room, reality hits hard. The good news? You don't need to spend thousands or tear down walls to dramatically improve your sound. With some strategic planning and a few targeted improvements, you can transform even the most challenging space into a professional-sounding environment.
This guide will take you from complete beginner to acoustic treatment success, whether you're working with a $50 budget or ready to invest in premium solutions. We'll focus on practical, immediate improvements that deliver the biggest impact for your investment. Step 1: Understanding Your Enemy (It's Not What You Think) Before we dive into solutions, let's clear up the biggest confusion in home studio acoustics. Many beginners think their main problem is soundproofing – keeping sound from getting in or out of their room.
But unless your neighbors are constantly complaining or you can't record because of outside noise, your real enemy is acoustic treatment. Soundproofing blocks sound transmission through walls, while acoustic treatment controls what happens to sound inside your room. Most home studio problems come from sound bouncing around your room like a ping-pong ball, creating echoes, frequency buildups, and that dreaded "bedroom sound" that screams amateur. The Quick Reality Check: Record yourself saying "hello" in your room, then listen back.
If it sounds like you're talking in a bathroom or tunnel, you need acoustic treatment, not soundproofing. Identifying Your Room's Personality Every room has acoustic quirks that affect your recordings. Here's how to diagnose your space in under 5 minutes: The Clap Test: Stand in the center of your room and clap your hands once, sharply.
Listen carefully to what happens: Clean, quick decay = decent natural acoustics Flutter echo (rapid repetitive sound) = parallel wall problems Long, hollow reverb = too many hard surfaces Muddy, boomy response = bass buildup issues The Bass Sweep: Play a bass-heavy track and walk around your room. Notice where the bass gets dramatically louder (room modes) or disappears entirely (nulls). Mark these spots mentally – they'll guide your treatment placement. The Monitor Truth Test: If you have studio monitors, sit in your mixing position and play a familiar track.
Then walk around the room while listening. If the sound changes dramatically as you move, you have serious reflection issues to address. Step 2: The $0-50 Immediate Fixes Before buying anything, you can make significant improvements using items you probably already have. These aren't permanent solutions, but they'll help you understand your room better while providing immediate improvement. Strategic Furniture Placement Your existing furniture is acoustic treatment waiting to be optimized.
Bookshelves filled with books create excellent natural diffusion, breaking up sound waves in beneficial ways. Position them along side walls, especially at ear level when you're seated at your workspace. Thick curtains or blankets can provide temporary absorption for problematic reflection points. While they won't match commercial acoustic panels, they'll demonstrate where treatment makes the biggest difference. Heavy blankets work better than thin curtains – mass matters for acoustic absorption. Your couch or bed can function as a bass trap if positioned in room corners.
The soft, irregular surface absorbs low frequencies naturally, though not as effectively as purpose-built bass traps. The Reflection Shield Hack If you're recording vocals, create an instant vocal booth using your closet. Hang clothes create natural acoustic absorption around the microphone. For an even better DIY solution, create a fort around your mic using blankets supported by mic stands or chairs. For instruments, position your microphone close to the source (within 6-12 inches). This technique, called close-miking, captures more direct sound and less room reflection.
The trade-off is potential proximity effect (bass boost), but it's better than roomy, amateur-sounding recordings. Room Positioning Fundamentals Before adding any treatment, optimize your existing setup. Position your desk facing the short wall of your room, firing sound down the length of the space. This typically provides flatter bass response and better stereo imaging. Avoid placing your listening position exactly halfway along any room dimension – these spots often have severe bass nulls that make mixing impossible.
The "38% rule" suggests positioning your listening spot 38% of the room's length from the front wall, though this is just a starting point. Create an equilateral triangle between your two monitors and your head. Start with speakers about 4-6 feet apart and the same distance from your listening position. Angle the monitors toward your ears – you should be able to see the inside edge of each speaker's cabinet when seated normally. Step 3: DIY Acoustic Panels ($25-100 Total Investment) Ready to build your first real acoustic treatment?
DIY panels deliver professional results at a fraction of commercial costs, and the process teaches you valuable lessons about how acoustic treatment works. Materials You'll Need For a basic 2'x4' panel (enough for four panels): Rockwool or Owen Corning 703 insulation (2" thick) - $45-60 1"x3" lumber for frames - $20-30 Acoustically transparent fabric - $15-25 Staple gun and staples - $10 (if you don't have one) Mounting hardware - $5-10 Material Choice Matters: Rockwool (like Roxul Safe'n'Sound) is available at Home Depot and Lowe's for about $45 per 12-pack.
It's easier to work with than fiberglass and provides excellent absorption from 250Hz up. Avoid standard home insulation – it's not designed for acoustic applications. Building Process Step-by-Step Frame Construction: Cut your 1"x3" lumber to create 24"x48" rectangular frames. Use wood screws at the corners, pre-drilling to prevent splitting. The frame should be exactly the same dimensions as your insulation panels. Fabric Preparation: Cut your fabric roughly 4 inches larger than your frame on all sides. Burlap, speaker cloth, or even heavy cotton fabric works well.
The key is acoustic transparency – sound should pass through easily while containing the insulation. Assembly: Place the insulation panel in the frame (it should fit snugly), then stretch the fabric over the front and staple it to the back of the frame. Start with corners, pulling tight, then work around all sides. The fabric should be taught but not stretched to the breaking point. Professional Finishing Touch: For a clean look, staple a thin piece of wood around the back perimeter to cover the fabric edges and create a finished appearance.
Advanced DIY: Corner Bass Traps Bass frequencies are your biggest challenge in small rooms, and corner bass traps are your most effective weapon. These require slightly more effort but deliver dramatic results. Triangle Frame Method: Cut your lumber to create triangular frames that fit in room corners. For maximum effectiveness, make them as large as your room allows – typically 16-24 inches on each side. Stacking Strategy: You can stack multiple 2" panels inside a single frame for even better bass absorption.
Four inches of quality insulation can absorb frequencies down to 50-100Hz, which covers most problematic bass buildup. Floor-to-Ceiling Installation: If possible, make your corner bass traps extend from floor to ceiling. This maximizes their effectiveness and makes the biggest visual and acoustic impact. Step 4: Commercial Solutions That Actually Work Once you understand acoustic principles through DIY experience, commercial solutions become more valuable investments. You'll know exactly what you need and why.
Best Budget Commercial Options Auralex Studiofoam: While not the most effective solution, it's affordable and widely available. Best used for controlling higher frequencies rather than serious bass problems. Expect to pay $2-4 per square foot. Primacoustic London Series: A step up from foam, these panels use rigid fiberglass cores with fabric wrapping. Much more effective across a broader frequency range. Budget around $8-12 per square foot. GIK Acoustics 244 Bass Traps: Industry standard for small studios. These corner-mounted traps provide serious bass control with excellent build quality.
Expect $100-150 per corner trap. The Professional Tier GIK Acoustics Monster Bass Traps: For serious bass problems, these massive corner traps (up to 17" thick) provide unmatched low-frequency control. Investment level: $200-400 per trap. Acoustic Solutions panels: Custom fabric options and professional mounting hardware. Perfect for studios where appearance matters as much as performance. Budget $15-25 per square foot. Smart Shopping Strategy Don't buy complete room packages blindly. Start with bass traps for your worst corners, then add panels at reflection points gradually.
This approach lets you hear the improvement from each addition and make informed decisions about further treatment. Step 5: Strategic Placement for Maximum Impact Placement determines whether your acoustic treatment helps or hurts your sound. Even expensive panels in wrong locations can make your room sound worse. The Mirror Trick for Reflection Points This simple technique identifies exactly where sound from your monitors reflects off walls to reach your ears. Have a friend hold a mirror against your side walls while you sit at your mixing position.
Anywhere you can see your monitor's reflection in the mirror needs acoustic treatment. Mark these spots and place absorption panels there. You don't need to cover the entire wall – just the reflection points. This targeted approach delivers maximum improvement with minimum investment. Bass Trap Placement Priority Corner Priority System: 1. Trihedral corners (where floor, wall, and ceiling meet) – maximum effectiveness 2. Floor corners behind your monitors – critical for tight bass response 3. Ceiling corners above your listening position – helps with room modes 4.
Any remaining corners as budget allows The 38% Rule and Its Limits The famous "38% rule" suggests placing your listening position 38% of the room's length from the front wall. While useful as a starting point, don't treat it as gospel. Use acoustic measurement software like Room EQ Wizard (free) to find your room's actual sweet spots. Some rooms work better with the listening position closer to or further from this theoretical optimum. Trust your ears and measurements over rigid rules. Avoiding Treatment Overkill More isn't always better with acoustic treatment.
Over-absorption creates dead, lifeless spaces that sound unnatural. Aim for controlled acoustics, not anechoic chamber silence. Your room should still sound like a room, just a well-controlled one. A good rule of thumb: treat 15-25% of your wall surface area with absorption, focusing on the most problematic areas first. Quick Wins: Monitor Positioning Before adding any treatment, optimize your monitor placement. Poor positioning can sabotage even perfectly treated rooms.
The Equilateral Triangle Setup Position your monitors and listening seat to form an equilateral triangle, typically 4-8 feet on each side. This provides optimal stereo imaging and frequency response. Monitors should angle slightly toward your ears – the acoustic axis should point directly at your head. Height Matters More Than You Think Position tweeters at ear level when seated. Monitors placed too high or low create frequency imbalances that no amount of acoustic treatment can fix.
If your desk doesn't allow proper height, invest in monitor stands or isolation stands before buying acoustic panels. Isolation and Decoupling Place isolation pads or stands under your monitors to decouple them from your desk. This prevents vibrations from coloring your sound and reduces structural transmission through furniture. Quality isolation pads cost $20-50 but make immediately audible improvements. Common Mistakes That Waste Money Learning from others' expensive mistakes saves time and money.
Here are the most common acoustic treatment errors: Foam Everywhere Syndrome Covering walls with thin acoustic foam might look professional, but it only absorbs high frequencies. This creates a muffled, unnatural sound while leaving bass problems untouched. Always address bass issues first with proper bass traps. Symmetry Obsession While left-right symmetry is important for stereo imaging, you don't need identical treatment on all walls. In fact, different treatment on opposing walls can help prevent standing waves.
Focus on controlling specific problems rather than achieving perfect visual symmetry. The Soundproofing Confusion Don't expect acoustic treatment to soundproof your room. They're different problems requiring different solutions. If neighbors complain about your studio, you need mass-loaded vinyl, double walls, and isolation techniques – not absorption panels. Measuring Nothing, Assuming Everything Room acoustics are complex and counter-intuitive. What looks like it should work often doesn't, and subtle changes can have dramatic effects.
Use free measurement software to verify improvements rather than relying on assumptions. Progressive Improvement Strategy Rome wasn't built in a day, and neither should your acoustic treatment. This progressive approach maximizes results while minimizing costs: Phase 1 (Month 1): Optimize existing setup and furniture placement. Add DIY corner bass traps. Budget: $50-100. Phase 2 (Month 2-3): Build and install DIY panels at primary reflection points. Add monitor isolation. Budget: $100-200. Phase 3 (Month 4-6): Address remaining bass issues with additional corner treatment.
Consider commercial bass traps for worst problems. Budget: $200-500. Phase 4 (Ongoing): Fine-tune with measurements, add diffusion if needed, upgrade to commercial panels as budget allows.
When to Call in Professionals Some situations benefit from professional acoustic consultation: Rooms with severe structural acoustic problems Commercial studios requiring precise acoustic standards Spaces where appearance is as important as function When DIY efforts haven't solved fundamental issues A professional acoustic consultant can provide room analysis, treatment recommendations, and custom solutions that optimize both function and aesthetics. Measuring Success How do you know if your treatment is working?
Here are practical ways to verify improvement: Before and After Recordings: Record the same source (voice, instrument) before and after treatment. The improvement should be immediately obvious in reduced reverb, clearer definition, and more professional sound. The Walking Test: Play familiar music and walk around your room. Properly treated spaces maintain consistent tonality regardless of position. Mix Translation: Your mixes should translate better to other playback systems. If your bass-heavy mixes suddenly work on car stereos and earbuds, your bass trapping is working.
Measurement Software: Room EQ Wizard (free) provides objective measurements of your room's frequency response. While learning the software takes time, the data helps verify that your improvements are real, not just placebo effects. The Bottom Line Effective acoustic treatment transforms not just how your recordings sound, but how you feel about making music. When your room sounds professional, you feel more creative and confident. Your mixes translate better, your recordings sound more polished, and you spend less time fighting your environment.
Start with understanding your room's specific problems, then apply targeted solutions progressively. Whether you're building DIY panels for $50 or investing in professional treatment, the principles remain the same: control bass buildup, manage reflections, and create a balanced listening environment. Remember, perfect acoustics don't exist – even world-class studios have compromises. The goal is controlled, predictable acoustics that help rather than hinder your creative process. With thoughtful planning and strategic implementation, any room can become a productive creative space.
Your music deserves better than bathroom reverb and bedroom boom. Give your creativity the acoustic foundation it needs to flourish.